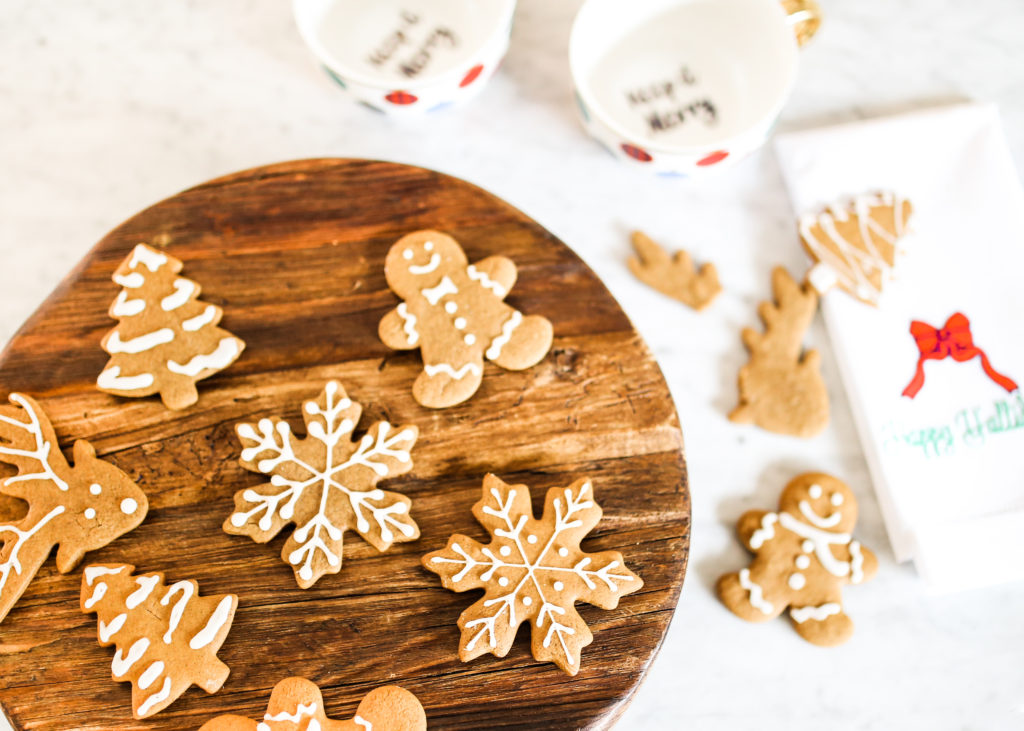
Nothing says “happy holidays” quite like gingerbread cookies.
Just the smell of these iconic cookies evokes feelings of comfort and memories of warm, happy holiday moments.
In honor of the season, Elisabeth & Butter, a baking extraordinaire, came up with her own gingerbread cookie recipe and wanted to share it with us on the Love, Reese blog.

Tell us about this recipe.
These gingerbread cookies are soft and chewy with all the flavors of Christmas!
The most important part of this recipe is chilling the dough. The cookies will spread out if you don’t refrigerate the dough for at least 3 hours. I like to make my dough the night before and bake the cookies the next day.
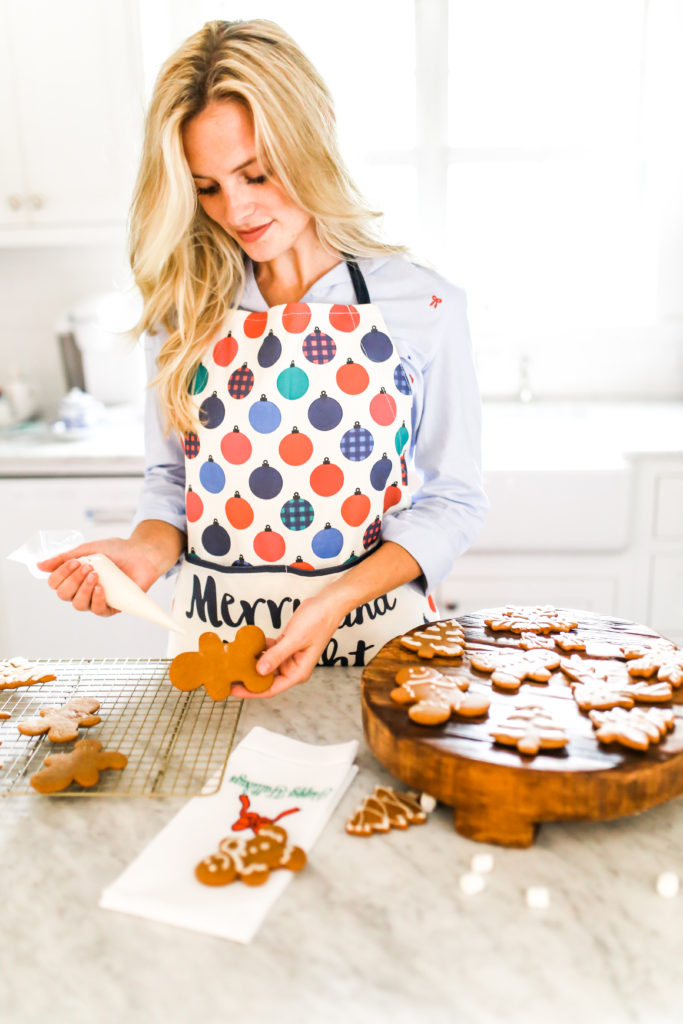
The icing is simple to make and you can make different colors by adding food coloring. I kept these cookies simple, but the options are endless with designs for these gingerbread cookies!
What’s your favorite Christmas tradition?
My favorite Christmas tradition is my family’s Christmas Eve dinner. We cook a beef tenderloin, lots of gourmet sides and a Buche de Noel which is so fun to make. We all open one gift afterward, and it is such a special night!
The anticipation of Christmas morning is something I’ll never get over.

Favorite Christmas carol?
My favorite Christmas carol is Silver Bells. It was my grandmother’s favorite song, so I think of her every time I hear it and it reminds me of all our childhood Christmas’s.

What’s the best thing about celebrating Christmas in the South?
In my opinion, the best thing about celebrating Christmas in the South is all our friends and family showing up at our doorstep with baked goods and Christmas gifts.
I love making cookies and breads for all our neighbors and friends and blessing others during this season. There’s truly nothing like Southern hospitality!
Elisabeth & Butter’s Easy Gingerbread Cookie Recipe
Yields 24-30 cookies
Ingredients
For the cookies:
10 tablespoons salted butter, softened
3/4 cup packed light brown sugar
2/3 cup molasses
1 large egg
1 teaspoon vanilla extract
3 and 1/2 cups all-purpose flour
1 teaspoon baking soda
1/4 teaspoon salt
2 teaspoons ground ginger
1 tablespoon ground cinnamon
1/4 teaspoon nutmeg
1/2 teaspoon ground cloves
For the icing:
1 1/2 cups confectioners sugar
2 tablespoons milk
Directions
For the cookies
In a large mixing bowl fitted with a paddle attachment, beat the softened butter together for 1 minute. Scrape down the sides of the bowl and add brown sugar and molasses and beat together for another minute, or until light and fluffy.
Add in the egg and vanilla extract and beat until combined. The mixture may look curdled and separated, but that’s okay.
In another bowl, whisk together flour, baking soda, salt, ginger, cinnamon, nutmeg, and cloves. With the mixer on low, slowly add the dry ingredients to the wet and mix until just combined.
Divide the dough in half and pat down the dough to form disks before wrapping each disk in plastic wrap.
Chill dough in the refrigerator for at least 3 hours or up to 3 days. (I like to chill mine overnight. You can also freeze the dough up to 3 months.)
Once the dough has chilled, preheat oven to 350°F, and line two baking sheets with parchment paper. Set aside.
On a floured surface, roll chilled dough out to 1/4 inch thick. Use plenty of flour on your rolling pin and hands because this dough is sticky.
Cut into shapes and place on the baking sheet 1 inch apart. Re-roll leftover dough and continue cutting shapes.
Bake cookies for 8-11 minutes depending on the size of your cookie cutters. Rotate baking sheet halfway through baking so the cookies cook evenly. The cookies should be slightly browned on the edges but still soft in the middle.
Allow cookies to cool for a few minutes on the cookie sheet, and then place them on the cooking rack to cool.
For the icing
In a bowl, whisk together confectioners sugar with 2 tablespoons of milk. You want it a glossy and smooth consistency but not too runny. If too runny, add more confectioners sugar. If it’s too thick, add more milk by the teaspoon.
Transfer icing to a piping bag or Ziploc bag, and cut off a small amount on the tip to begin decorating.
