If your resolution this year was to eat less sugar, we’re so sorry about this one.
You may remember the Pie Bar from a previous Love, Reese blog post (Pumpkin Praline Pie ring any bells?); this time Lauren Bolden, the owner, is whipping up something a little more chocolatey and a little more custard-y.
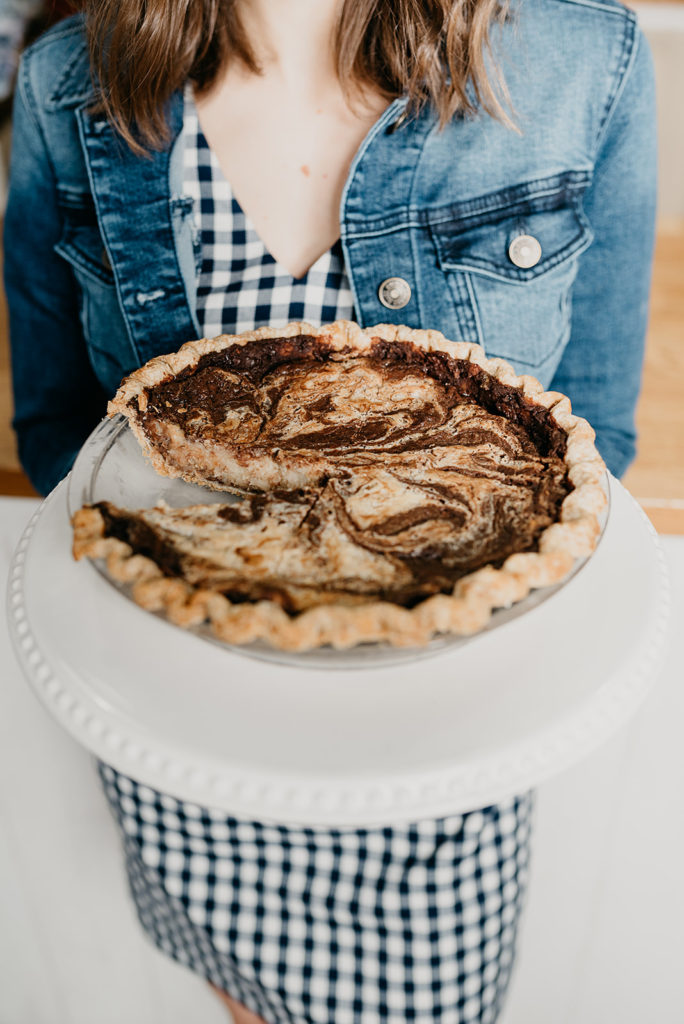
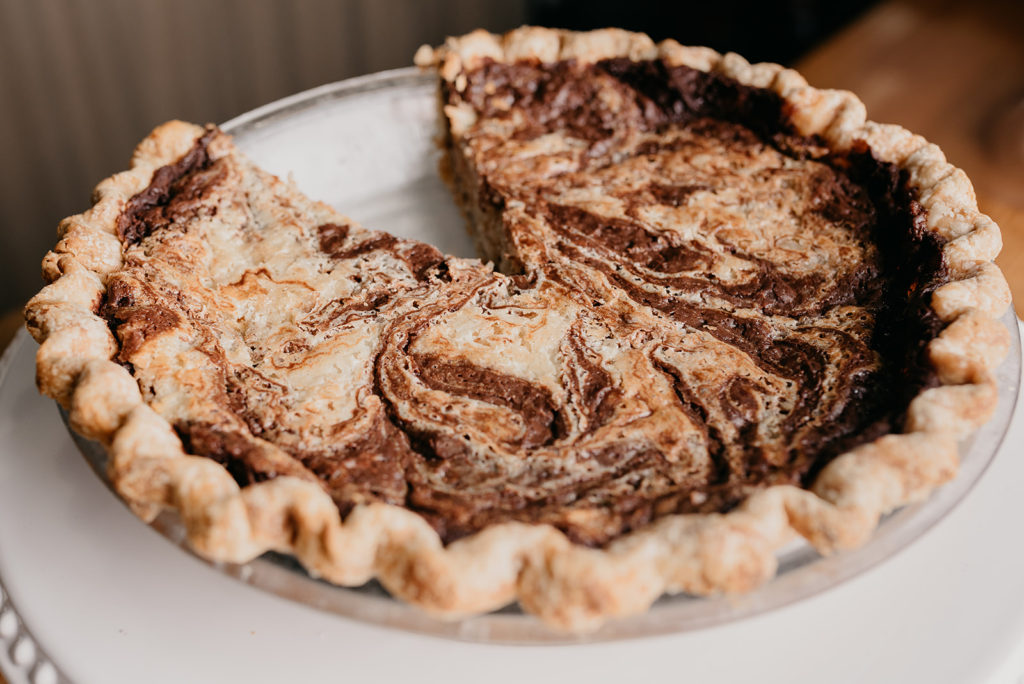
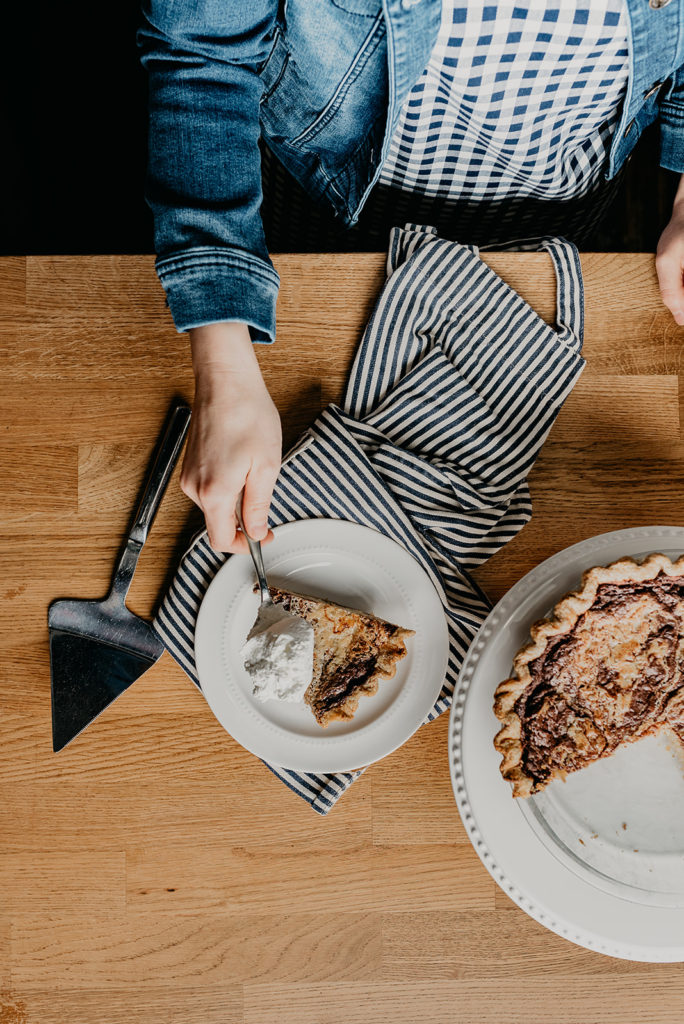
Meet Pie Bar’s Marbled Coconut and Chocolate Custard Pie. Lauren describes this recipe as one that’ll make you “realize January is not so bad after all.”
(But if you’re really sticking to your healthy-eating goals this month, bookmark this recipe and save it for Valentine’s Day.)
Lauren, who’s wearing the new Gingham Bell Sleeve Shift Dress, provided the recipe, along with some of her best her baking tips, below.

Tell us about this recipe.
Whenever anyone asks how we create our menu at Pie Bar, I love to talk about seasonality and the beautiful ingredients that grow all across the state of Georgia! But January tends to be wet and cold and the perfect season for finding comfort inside with a slice of pie, so what kind of pie speaks to the season of January?
When I began to really think about it, two things came to mind: “How long until spring is here?!” and “I really need something chocolate. Like, now.” Since I can’t change the weather, or the calendar, I focused on what I could change, and that was the lack of chocolate I was currently consuming! Once I paired chocolate with my desire to skip into spring, I was unstoppable, and the Marbled Coconut and Chocolate Custard Pie was born… the perfect pre-spring pie.
The recipe is simple, but I have broken it into multiples sections. Each section represents the next step in the pie-making process and will help keep your tasks in order.
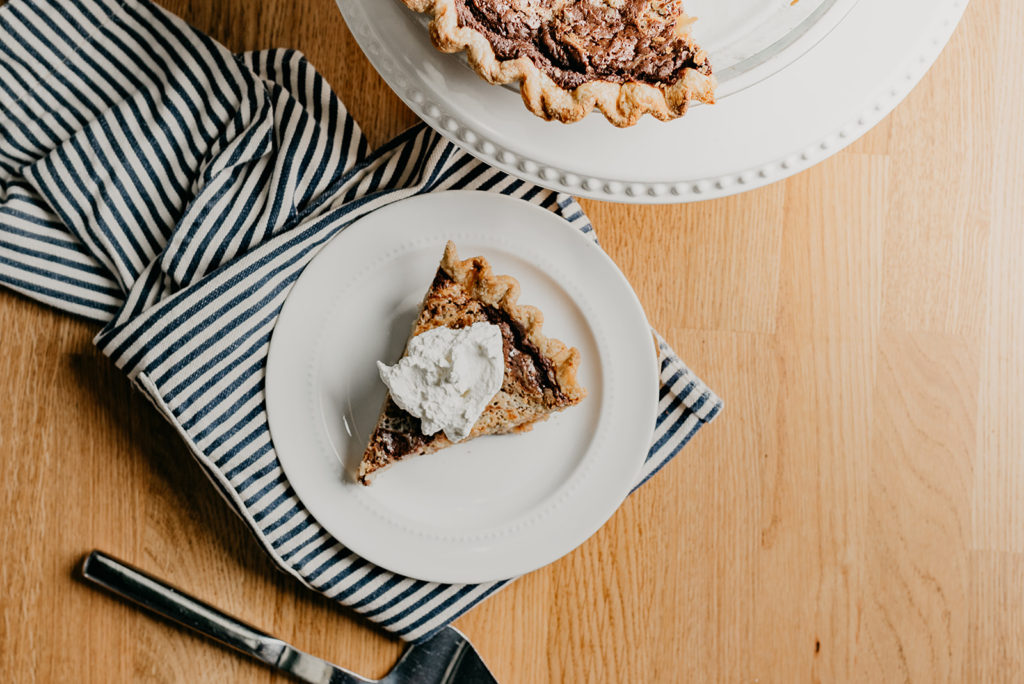
I prefer most custard pies cold, but this one is special. Lightly warm your slice, and add a bit of Almond Whipped Cream (recipe below).
What’s your New Year’s resolution for 2019?
I generally don’t subscribe to the notion of setting a New Year’s Resolution, but only because that New Year’s comes once a year. Setting goals is a big part of my life, and I enjoy it so much that I tend to “goal set” even when I probably don’t need to.
That said, I would love to focus more on baking at home in 2019. Not only does it make my house smell good and my husband love me more, but it provides a sense of calm that is not easy to find at work (in a commercial baking setting). I continue to bake pies at home, but I am excited about exploring some new (to me) baked goods such as homemade bread and perfecting the cream cheese pound cake.

On Lauren: Gingham Bell Sleeve Shift Dress
What’s your best advice for anyone wanting to bake more in 2019?
I think the key is to just start. Find a blog or a cookbook that inspires you, and pick out a one recipe! Of course, keep in mind, if your goal is to bake more, don’t choose something that is going to make you want to pull your hair out, but rather choose something that is well-written (maybe this Marbled Coconut and Chocolate Custard Pie?), contains components that seem familiar, and excites you to be in the kitchen.
Also, drink lots of wine. It makes baking exponentially more fun.
What’s your favorite thing about the Gingham Bell Sleeve Shift Dress?
I knew my husband’s favorite thing about this dress was when I stepped out of our closet and he said, “Hellooo, legs.” Subtle, I know. I pointed out to him that yes, this dress is the perfect length for both business and party, but that is not even the most special part.
“Have you even bothered to notice the classic pattern?” I asked him. “What about the detailed sleeve? Not every dress has such a flair,” I exclaimed. He nodded along, repeating what I said. Satisfied that he then understood how each part of the dress works together to create the perfect (oh-this-old-thing) look, I was then able to exclaim. “And it’s from Reese Witherspoon’s clothing line, so maybe we will wear it on the same day and people will think we’re twins!” (clasps hands together, hopefully). “Maybe,” he said… because that is the power of this dress.

On Lauren: Gingham Bell Sleeve Shift Dress
Marbled Coconut and Chocolate Custard Pie
Recipe from Lauren Bolden, Pie Bar
Ingredients
1 cup sweetened coconut flakes
1 pie crust (in a pie pan), keep refrigerated until ready to use (I recommend using Pie Provisions Pie Crust Mix)
1 1/4 cups sugar
3 tablespoons all purpose flour
8 ounces whole buttermilk
1 teaspoon vanilla extract
3 large eggs, lightly beaten
1/4 cup unsalted butter, melted
1 cup semi-sweet chocolate chips
3/4 cup heavy cream
Directions for toasting coconut and par-baking pie crust:
Note: Par-baking the crust means we are going to partially bake it without the filling so the bottom is crisp and not soggy!
1. Pre-heat oven to 400° F.
2. Pour sweetened coconut flakes onto an un-lined baking sheet, spread in a single layer, and bake for 3-6 minutes or until toasted. (Keep an eye on this process because the coconut will burn easily. If the coconut is getting too dark, use a heat resistant spatula to stir the coconut around on the baking sheet. The coconut is toasted once the flakes have turned a shade of golden brown.)
3. Remove coconut and set aside to cool.
Tip: I like my coconut to be a variety of “toasty-ness,” so instead of spreading it in a single layer when toasting, I pile it all up in the center, and then every 2 minutes, I use a heat resistant spatula to stir and re-pile the coconut. This allows for a variety of toasted coconut (some slightly toasted all the way to some very toasted) rather than a uniform golden brown toasted.
4. While the coconut is toasting, remove the pie crust from the refrigerator. 5. Par-bake the crust by lining the crust with parchment paper and filling it all the way to the top of the pie with pie weights (or dried beans!).
Tip: Do not skip this step. It is imperative for a crispy crust. If you do not have parchment paper, a few coffee filters will do!
6. Bake the weighted pie for 30 minutes on the bottom rack.
Tip: I like to place my pie on a baking sheet. It makes it easier to move in and out of the oven as well as rotate!
While the crust is par-baking, mix the Coconut Custard Filling and make the Chocolate Ganache:
1. Combine sugar and flour in a large bowl. Mix until completely combined.
2. Add buttermilk, vanilla, and eggs. Mix until completely combined.
3. Slowly pour melted butter into the buttermilk mixture. Mix until completely combined.
4. Pour the toasted coconut into the coconut custard filling and stir to combine. Set aside.
Tip: Do not add coconut yet! We don’t want it to get soggy!
5. Pour chocolate chips and heavy cream in to a medium-sized glass bowl. Stir with a spatula. Microwave in 30 second increments until your chocolate ganache is completely melted and smooth. Set aside.
Tip: This takes 3.5 minutes in my microwave, with me stirring it every 30 seconds. The chocolate should be more runny than thick so that the buttermilk filling mixes with it rather than sits on top of it. This can also be done using the double boiler method.
Assembly:
1. Remove weighted pie from the oven after 30 minutes. Lower the oven temperature to 350° F.
2. Carefully remove the pie weights (or beans) as well as the parchment paper.
Tip: The easiest way to remove the pie weights AND the parchment simultaneously is to use your fingers to bring all four corners of the parchment together in the center and lift up at once.
3. Pour the chocolate ganache into the bottom of the pie crust. Using a spatula, spread evenly.
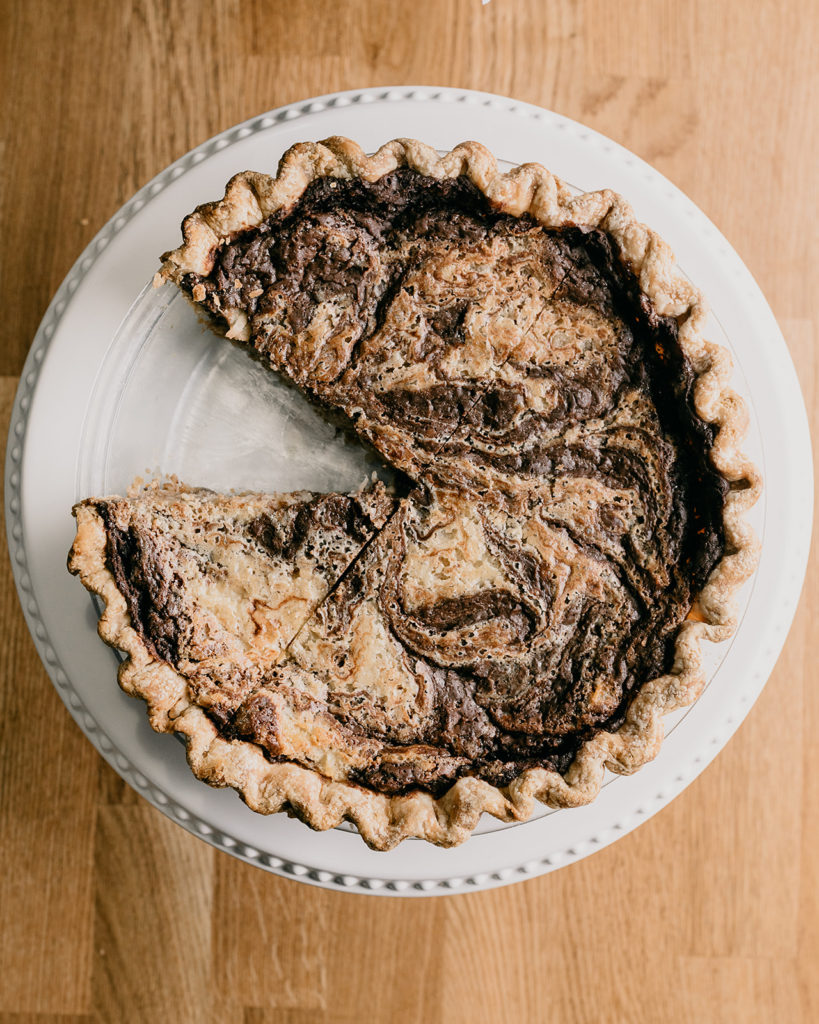
4. Pour the coconut custard filling on top of the chocolate. The coconut will push the chocolate out to the sides, creating a ring of chocolate surrounding the coconut custard filling in the middle.
5. Using a toothpick, drag and swirl bits of chocolate into the coconut custard and bits of the coconut custard into the chocolate. This will create a “marbled” effect.
6. Place the pie back in the oven on the middle rack. Bake for 20 minutes. Rotate and bake for an additional 20 minutes.
7. After 40 minutes, if the filling is set (not too jiggly in the center) remove the pie from the oven. If the pie is still too jiggly in the center, return it to the oven for 5 – 10 minutes until set. The pie is done with the crust is browned and the filling has set in the center.
8. Allow the pie to cool on the counter for 2 hours before placing in the refrigerator to completely cool.
9. Serve pie lightly warm with almond whipped cream. This pie will last in the refrigerator for up to 7 days.
Tip: Do not cut into a hot pie; it needs to set first. Allow it to cool completely, cut a slice, and then microwave each slice to re-heat.
Almond Whipped Cream
Recipe By: Lauren Bolden, Pie Bar
Ingredients
2 cups heavy cream
1 tsp almond extract
6 tablespoons confectioners’ sugar, sifted
Directions:
1. Measure out each ingredient separately. Set aside.
2. Pour heavy cream and almond extract into the bowl of a stand mixer with the whisk attachment.
3. Set the mixer on high and add confectioners’ sugar.
4. Whisk until stiff peaks form (approximately 2 minutes). Dollop on pie and eat the rest out of the bowl.
Homemade Whipped Cream is best used in 1-2 days. Store covered in your refrigerator.
Photos by Jason Holland


